Installing new flooring can transform the look and feel of your space. Luxury Vinyl Tile (LVT) is not only stylish and durable but also surprisingly straightforward to install. This step-by-step guide will walk you through the process of installing LVT flooring, ensuring a smooth and successful home improvement project.
Preparing for Installation
Choosing the Right LVT
Before you begin, select an LVT product that suits your aesthetic preferences and meets the functional requirements of your space. Consider factors like thickness, wear layer, and texture to ensure the best fit for your environment.
Tools and Materials Needed
- Tape measure
- Utility knife
- Straightedge or T-square
- Rubber mallet
- Spacers
- Level
- LVT underlay (if required)
Step 1: Prepare the Subfloor
Ensuring a clean, dry, and level subfloor is crucial for a successful LVT installation:
- Clean: Remove all debris, dust, and particles.
- Dry: Ensure the subfloor is completely dry.
- Level: Check for and correct any uneven spots. Use a self-levelling compound if necessary.
Step 2: Plan Your Layout
Plan how the tiles will be laid out across the floor:
- Measure the Room: Determine the room’s dimensions to plan the layout effectively.
- Visualise the Placement: Consider starting from the centre of the room to ensure even cuts and symmetry along the edges.
Step 3: Lay the Underlay (If Required)
Some LVT products come with an attached underlay, while others require a separate one. An underlay can provide extra cushioning and sound dampening:
- Roll Out the Underlay: Cut it to size and lay it across the subfloor.
- Tape the Seams: Secure the seams with tape if recommended by the manufacturer.
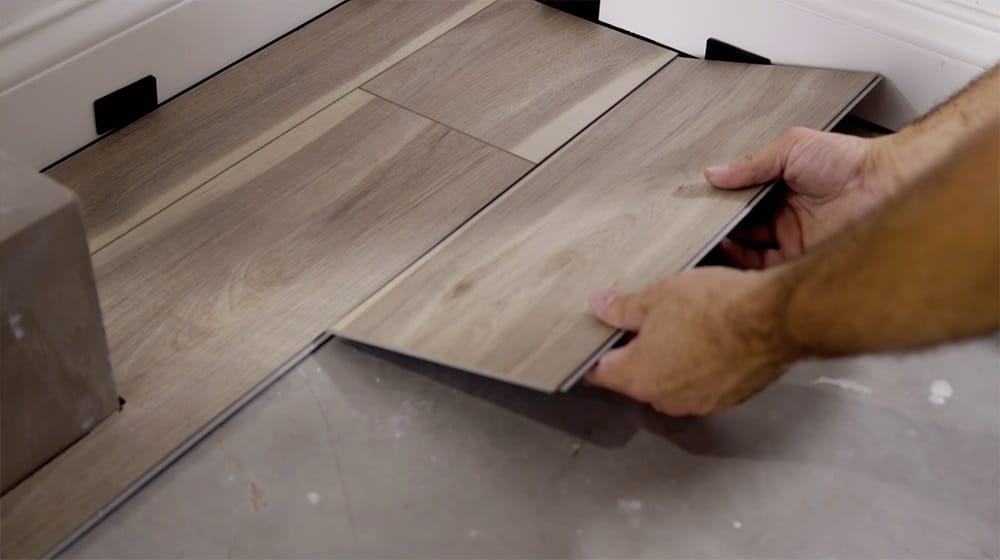
Step 4: Install the LVT
- Start Laying the Tiles: Begin from the middle or a corner of the room, depending on your layout plan.
- Click and Lock: Position the first tile and angle the next one to lock it into place. Gently tap with a rubber mallet to secure.
- Use Spacers: Maintain a consistent gap between the tiles and walls for expansion.
- Keep Checking Alignment: Use a straightedge or level to check the alignment as you proceed.
Step 5: Cutting Tiles
When you reach walls or obstacles, you’ll need to cut tiles to fit:
- Measure and Mark: Measure the space and mark the tile.
- Cut the Tile: Use a straightedge and utility knife to score and snap the tile along the marked line.
Step 6: Finishing Touches
- Install Trim and Moulding: This will cover the expansion gaps and give your floor a finished look.
- Clean Up: Remove all spacers and clean the surface of any debris or dust.
Installing LVT flooring can be a rewarding DIY project that enhances the beauty and functionality of your home. By following these detailed steps, you can achieve a professional-looking finish that lasts for years. Remember, patience and preparation are key to a successful installation, ensuring your new floors look flawless and perform excellently.